
Fixing Aluminum Siding: A Comprehensive Guide for Homeowners
Share this:
Embarking on the journey of fixing aluminum siding, this guide aims to provide a thorough overview of the process, from identifying common issues to executing repairs with precision.
Introduction to Fixing Aluminum Siding
Aluminum siding is a popular choice in construction due to its durability, low maintenance, and resistance to rust and corrosion. It is often used to protect and enhance the exterior of residential and commercial buildings.
Over time, aluminum siding may become damaged due to weather exposure, impact from debris, or general wear and tear. Common issues include dents, scratches, fading, and loose panels.
Benefits of Repairing Aluminum Siding
- Cost-Effective: Repairing aluminum siding is generally more affordable than replacing it entirely, saving you money in the long run.
- Preservation of Aesthetics: Fixing minor damages can help maintain the appearance of your property, enhancing its curb appeal.
- Extended Lifespan: By addressing issues promptly, you can prolong the lifespan of your aluminum siding and avoid more significant repairs down the line.
- Environmental Impact: Repairing aluminum siding reduces waste by utilizing existing materials instead of replacing them, making it a more sustainable choice.
Common Issues with Aluminum Siding
Aluminum siding, although durable, can face several common issues that may require fixing over time. These problems can be exacerbated by various factors such as weather conditions, age, and wear.
Weather Conditions Impact
Weather conditions play a significant role in the deterioration of aluminum siding. Exposure to harsh elements like rain, snow, and UV rays can cause the paint to fade, the metal to corrode, and the siding to warp or buckle. This can lead to leaks, reduced energy efficiency, and an overall unsightly appearance.
Age and Wear
As aluminum siding ages, it becomes more susceptible to wear and tear. Oxidation can occur, causing the siding to lose its luster and protective coating. Over time, dents, scratches, and other damage may accumulate, compromising the structural integrity of the siding.
Regular maintenance and repairs are essential to prolong the lifespan of aluminum siding and ensure its continued functionality.
Tools and Materials Needed
When fixing aluminum siding, it is essential to have the right tools and materials on hand to ensure a successful repair. Here is a list of the tools, materials, and safety equipment needed for working with aluminum siding.
Essential Tools
- Caulk gun
- Tin snips
- Hammer
- Screwdriver
- Drill
- Ladder
- Tape measure
Specific Materials for Various Repairs
- Aluminum siding panels
- Aluminum trim pieces
- Aluminum nails or screws
- Aluminum caulk
- Paint (if needed for touch-ups)
Safety Equipment
- Safety goggles
- Gloves
- Dust mask
- Work boots
- Protective clothing
Cleaning and Preparing the Surface
Cleaning and preparing the surface of aluminum siding is crucial to ensure a successful repair. Properly cleaning the siding will allow for better adhesion of any patches or paint, while preparing the surface will help in achieving a smooth and seamless finish.
Cleaning Aluminum Siding Effectively
- Start by removing any dirt, debris, or mildew from the surface of the siding. Use a mixture of mild detergent and water to scrub the siding with a soft-bristled brush.
- Rinse the siding thoroughly with clean water to remove any soap residue.
- For tougher stains, you can use a pressure washer on a low setting. Be sure to keep the nozzle at least 12 inches away from the siding to prevent damage.
- Allow the siding to dry completely before moving on to the next step.
Preparing the Surface
- Inspect the siding for any dents, scratches, or other damage that may need to be repaired before proceeding.
- Use a metal primer to treat any bare metal spots to prevent oxidation and ensure a strong bond with the repair material.
- If there are any loose or peeling paint, scrape off the old paint and sand the area to create a smooth surface for the new paint or patch to adhere to.
- Apply a coat of exterior-grade paint to the repaired areas to match the color of the existing siding and protect the repair from the elements.
Repairing Dents and Scratches
When it comes to fixing dents and scratches in aluminum siding, there are a few methods you can consider to restore the appearance of your siding. Whether you choose to use filler, sanding, or replacement will depend on the extent of the damage and your level of expertise in handling such repairs.
Here, we will discuss the different approaches and provide tips on achieving a seamless finish.
Using Filler to Repair Dents and Scratches
One common method for repairing dents and scratches in aluminum siding is to use filler. This involves applying a specialized filler material to the damaged area, smoothing it out, and allowing it to dry before sanding it down to create a seamless finish.
Make sure to follow the manufacturer's instructions when using filler to ensure optimal results.
Sanding to Repair Dents and Scratches
If the dents and scratches in your aluminum siding are minor, you may be able to repair them by sanding the affected area. Use fine-grit sandpaper to gently sand down the damaged area until it is smooth and level with the surrounding siding.
Be careful not to sand too aggressively, as this could cause further damage to the siding.
Replacement as a Repair Option
In cases where the dents and scratches are too severe to be repaired using filler or sanding, you may need to consider replacing the damaged section of aluminum siding. This involves carefully removing the affected panels and installing new ones in their place.
While this may require more effort, it can provide a more permanent solution to the damage.
Tips for Achieving a Seamless Finish
- Clean the damaged area thoroughly before beginning any repairs to ensure proper adhesion of filler or new siding.
- Take your time when applying filler or sanding to avoid creating uneven surfaces or causing further damage.
- Match the color of the repaired area with the rest of the siding by using paint or touch-up kits specifically designed for aluminum siding.
- Inspect the repaired area from different angles and distances to ensure a seamless blend with the surrounding siding.
- If unsure about the repair process, consider seeking professional help to ensure the best results.
Fixing Corrosion and Rust Spots
When dealing with corrosion and rust spots on aluminum siding, it is crucial to address these issues promptly to prevent further damage and maintain the appearance of your home.To begin the repair process, it is essential to identify the extent of the corrosion or rust spots on the siding.
Once identified, you can proceed with the following steps to effectively fix these problem areas.
Application of Rust Inhibitors and Primers
Before making any repairs to the corroded or rusted spots, it is recommended to apply a rust inhibitor to prevent further oxidation. After applying the rust inhibitor and allowing it to dry, a primer specifically designed for metal surfaces should be used to create a stable base for the repair.
- Clean the affected area thoroughly to remove any dirt, debris, or loose paint.
- Apply a rust inhibitor according to the manufacturer's instructions and allow it to dry completely.
- Once the rust inhibitor has dried, apply a metal primer to the corroded or rusted spots to prepare the surface for repair.
- Ensure the primer is evenly applied and covers the entire affected area to promote adhesion and durability of the repair.
Blending Repaired Areas with Existing Siding
After applying the rust inhibitor and primer, it is essential to blend the repaired areas with the existing siding to ensure a seamless finish. This can be achieved by following these techniques:
- Use the same type and color of paint as the existing siding to ensure a consistent look.
- Feather the edges of the repaired area with fine-grit sandpaper to smooth out any roughness and create a seamless transition.
- Apply multiple thin coats of paint to the repaired area, allowing each coat to dry completely before applying the next one.
- Blend the paint into the surrounding siding by lightly feathering the edges to ensure a uniform appearance.
Replacing Damaged Panels
When it comes to aluminum siding, sometimes a panel may be beyond repair and need to be replaced. Here, we will discuss how to determine when a panel needs replacement, how to remove and install new panels correctly, and how to blend them seamlessly with the existing siding.
Determining Replacement Need
- Inspect the damaged panel for severe dents, cracks, or holes that cannot be repaired.
- If the damage is extensive and affects the structural integrity of the siding, it's time to replace the panel.
- Consider the age and condition of the siding - if the panel looks weathered or is no longer providing adequate protection, it's best to replace it.
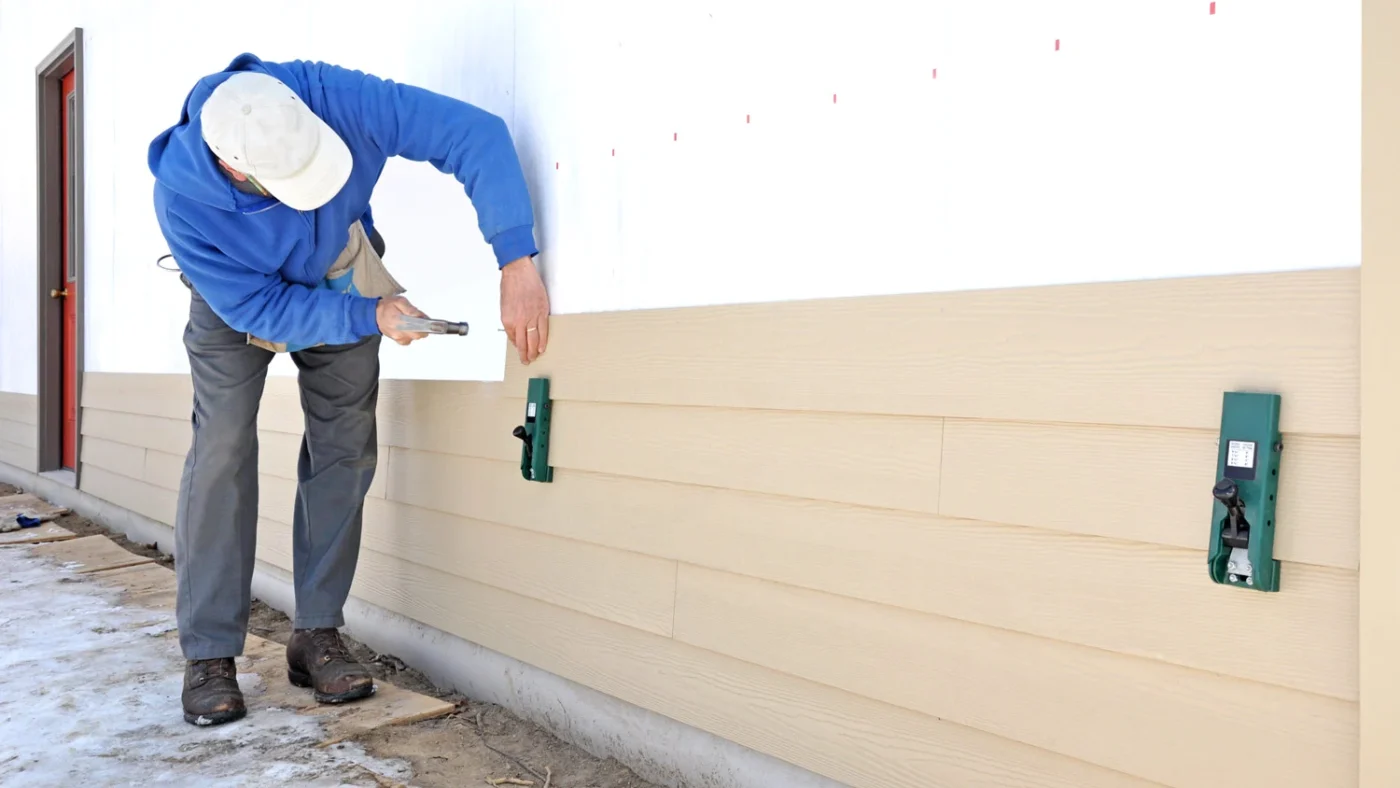
Removing and Installing New Panels
- Begin by carefully removing the damaged panel using a pry bar to gently detach it from the surrounding panels.
- Clean the area where the new panel will be installed to ensure a smooth surface for attachment.
- Slide the new panel into place, making sure it fits snugly and aligns with the existing siding.
- Secure the new panel by nailing it into the studs behind the siding, ensuring a secure and flush fit.
Color Matching and Blending
- When selecting a new panel, try to match the color as closely as possible to the existing siding.
- If an exact match is not available, consider blending the new panel with the existing siding by painting or treating it to achieve a similar hue.
- Take into account the effects of weathering on the existing siding and adjust the new panel's color accordingly for a seamless blend.
Painting and Finishing Touches
When it comes to painting aluminum siding after making repairs, it is crucial to follow the right steps to ensure a durable and aesthetically pleasing finish. Choosing the correct type of paint and maintaining it properly are key factors in achieving long-lasting results.
Choosing the Right Type of Paint
Before painting your aluminum siding, it is essential to select a paint that is specifically designed for metal surfaces. Look for acrylic latex paint or an oil-based paint that is suitable for outdoor use. These types of paint adhere well to aluminum and provide excellent durability.
- Opt for a paint that offers UV protection to prevent fading from sun exposure.
- Consider using a primer designed for metal surfaces to improve paint adhesion.
- Choose a color that complements your home's exterior and enhances its overall appearance.
Maintaining the Finish
Once you have painted your aluminum siding, it is essential to maintain the finish to ensure long-lasting results. Proper maintenance can help protect the paint from damage and extend its lifespan.
- Regularly clean your siding with a mild detergent and water to remove dirt and grime.
- Inspect the paint for any signs of wear or damage, such as chipping or peeling, and touch up as needed.
- Avoid using harsh chemicals or abrasive cleaners that can damage the paint finish.
- Consider applying a clear coat over the paint to provide an extra layer of protection against the elements.
Last Point
In conclusion, tackling aluminum siding repairs can breathe new life into your home's exterior. By following the steps Artikeld in this guide, you can ensure a seamless and lasting finish that enhances the overall appeal of your property.
Clarifying Questions
How can I tell if my aluminum siding needs fixing?
If you notice dents, scratches, corrosion, or rust spots on your aluminum siding, it may be time for repairs.
What tools are essential for fixing aluminum siding?
Some essential tools include a hammer, screwdriver, ladder, and safety goggles for working with aluminum siding.
Can I paint aluminum siding after repairs?
Yes, you can paint aluminum siding after repairs. Choose the right type of paint for best results.